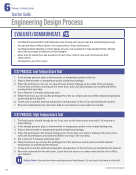
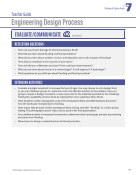
EVALUATE/COMMUNICATE
• Facilitate the presentation and testing process. Ensure each group uses the same testing process.
• Accept and expect failure; failure is an opportunity to learn and improve.
• Facilitate student reflection on their design process. Ask questions to help students think critically
about the successes and failures of their designs.
• Allow time for students to ask questions of each other, reflect, note, and communicate their
observations.
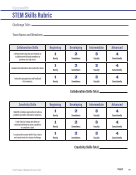
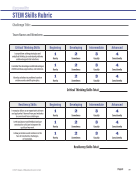
• Facilitate the use of the rubric.
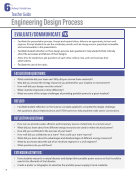
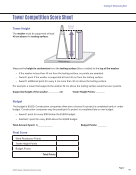
TEST PROCESS: L
ow Temperature Test
1. If not already present, place a thermometer or temperature probe in the ice.
2. Place a thermometer or temperature probe inside the prototype.
3. Place the prototype in the ice. Ice should reach at least halfway up the sides of the prototype.
If more than one team is testing at the same time, wait until all prototypes are positioned before
moving to the next step.
4. Set a timer for 5 minutes and press start.
5. When the time is up, remove the prototype from the ice. Check and record the internal temperature
as directed by the teacher.
6. Check and record the external temperature (temperature of the ice) as directed by the teacher.
7. Reset the materials for the next team. Add ice and remove excess water as needed.
continued next page
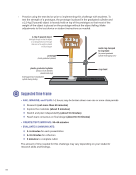
TEST PROCESS: H
igh Temperature Test
1. The heat source should already be on. If not, turn on the heat source and wait 5–10 minutes to
begin testing.
2. If not already present, place a thermometer or temperature probe in the heated testing area.
3. Place a thermometer or temperature probe inside the prototype.
4. Place the prototype in the heated testing area. If more than one team is testing at the same time,
wait until all prototypes are positioned before moving to the next step.
5. Set a timer for 5 minutes and press start.
6. When the time is up, remove the prototype from the test area. Check and record the internal
temperature as directed by the teacher.
7. Check and record the external temperature (temperature of the test area) as directed by the teacher.
8. Reset the materials for the next team. Leave the heat source on unless instructed to turn it off by
your teacher.
Safety Note:
Use caution when working around heat lamps. Do not touch the lamp or the bulb.